Essentially EmmaMarie
Sweet Recipes for this Christmas Season
Peanut Brittle
While growing up, it never was officially Christmas until I went over to grandma and grandpa’s and found peanut brittle in grandma’s crystal trifle dish, which everyone in the family called the “Peanut Brittle Dish”. When the peanut brittle appeared in the dish and grandma hung her little decoupaged sand dollars on the china cabinets’ handles, we knew that Christmas had arrived!
Grandma wasn’t a big decorator for Christmas, but she’s always been a big baker of Christmas candy. One year she sent some peanut brittle with grandpa to his office when he was working. People loved her peanut brittle and he came home with orders. She ended up making 100 pounds of peanut brittle that year.
I learned how to make peanut brittle from her, or from the best as I like to say, and below I’m sharing our recipe. Be sure to the read the notes following the recipe instructions because the details are what make for a successful peanut-brittle making experience.
Peanut Brittle
2 cups white sugar
1 cup water
1 cup Karo
1 lb. raw peanuts (these can be the Spanish or Virginia peanut but smaller peanuts are better and they must be raw—not already roasted)
1-¼ tsp. of fresh baking soda
1 Tbsp. butter
Extra butter
A candy thermometer
Get Started
Prepare a large baking sheet by spreading it well with butter. You want the sheet to be pretty large so the peanut brittle can really spread out when you pour it and not have it get too thick. Pick a cool dry spot where you can set your peanut brittle to cool. Place a trivet there because you will be setting a very hot cookie sheet on it to cool.
In a medium or large sauce pan, bring the water, Karo, and sugar to a boil. Boil on medium high heat until the candy thermometer reached 275°*. Stir occasionally. Once it reaches 275°, add the butter and peanuts and start stirring constantly. The mixture will get very thick and hard to stir, but as it cooks it will thin out again. You really need to stir constantly and make sure that you are scraping all areas of the pan so that nothing burns.
Next comes the tricky part: as the thermometer start to reach 290°-295° quickly pull out the thermometer, remove the pan from the heat, pour in the baking soda, and quickly stir the peanut brittle—it will start to foam. As soon as it is foaming evenly throughout, pour onto the cookie sheet. You can gently push it out to the edges of the pan but you don’t want to crush too much of the foam—the foam is what makes it nice and crunchy!
Carefully pick up the cookie sheet and take to the spot you prepared to allow it to cool. It will need to cool for about 30-40 minutes depending on how cool and dry your spot is. Once it has cooled, gently twist the pan so the peanut brittle pops off in one large piece. Flip it over and, using a paper towel, wipe the butter from the back of the peanut brittle; then, with a metal spoon, whack the back of the peanut brittle and watch it crack into pieces. Continue doing this until you have gotten the pieces the size you want. Store in an airtight container and enjoy!
*This will take a while. I don’t recommend turning the heat up the whole way because you can burn the mixture. Allow it to take its time so it can thicken. This will take around 30-40 minutes depending on your stove.
When it comes to adding the baking soda, you want this to be a very quick process—as in seconds. As quickly as you can, remove the thermometer, remove the pan from the heat, add and stir the baking soda, taking no more than 30 seconds.
It is very important that you have a cool dry place to allow the peanut brittle to cool. If you don’t, it will get sticky and good luck trying to eat sticky peanut brittle! Also, once it has cooled, break into pieces and store immediately, again to avoid it from getting sticky.
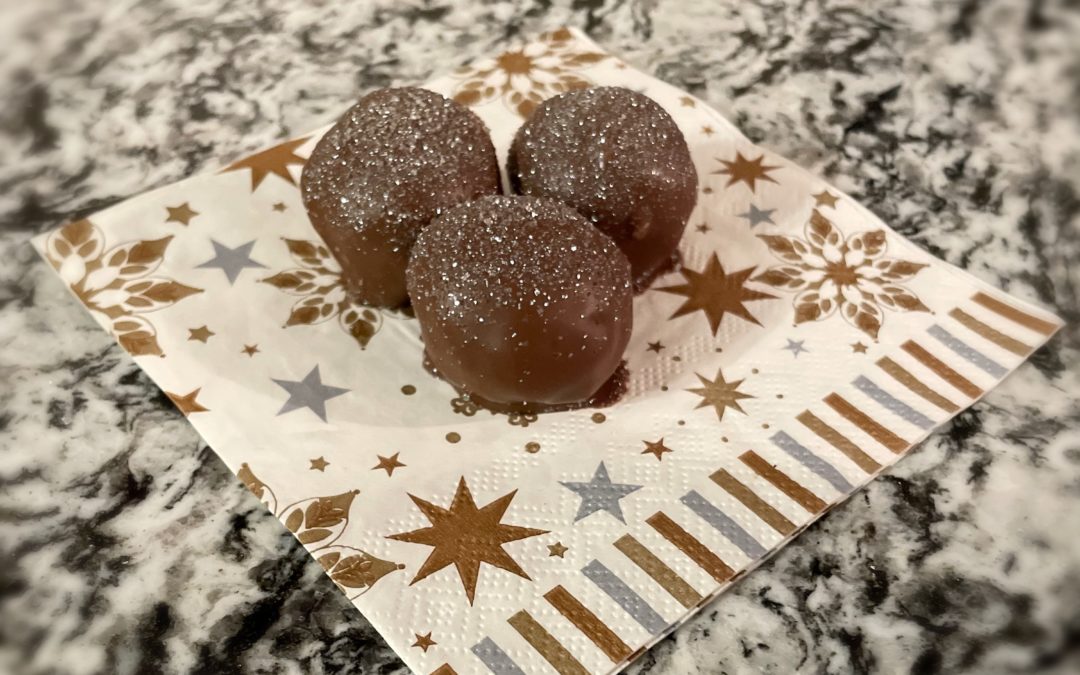
Oreo Truffles
1 package of Oreo cookies
1 package of cream cheese (make sure you get the original kind)
1 bag of melting chocolate
Get Started
Crush Oreos in a food processor or put the Oreos in a plastic bag and crush with a rolling pin. You want the Oreos to be crushed into a medium/fine consistency.
Heat the cream cheese till dry soft.
Combine Oreos and cream cheese together. Using a spoon or cookie scoop, form into to small balls—about an inch in diameter, and place on a cookie sheet.
Chill the formed balls in the fridge for about 30-45 minutes or about 20 minutes in the freezer. You want the balls to be hard to the touch but you don’t want them to actually freeze.
While the balls are setting up, start to melt the chocolate in a melting pot or double boiler. You will want to stir constantly while the chocolate is melting. If you are using a fondue pot or melting pot, I recommend not keeping the heat on high after the point when the chocolate has just melted. If you keep it on high the entire time, your chocolate will most likely burn. What does burn chocolate look like? If the chocolate is melted but you are seeing clumps form that you cannot blend out, then your chocolate has burnt. It will still taste more or less ok if this is just beginning to happen, but not if it continues.
After the balls have set and the chocolate is melted, dip the balls into the chocolate and allow to cool on a wax-paper lined cookie sheet. If you want to add sprinkles or decorations to your truffles, do this right after placing them on the wax paper, before the chocolate has time to cool.
Allow the chocolate to set and cool entirely and once it has—enjoy!
Here are other posts from Essentially EmmaMarie:
Tips To Make Your Home (and your life) Run Smoother This Year!
How is your new year going thus far? Are you sticking with all the new commitments you said you wanted to do this year? Or are you struggling? If you are anything like me and enjoy a quieter start to the year, where you slowly start to focus on things that a cumulative effect th throughout the year then read on for a few of the tips that I have accumulated over time to help give me back some of my time and streamline some of life’s most mundane tasks in areas such as meal planning, laundry, and developing and cleaning and tidying routine- you know, all the fun stuff!
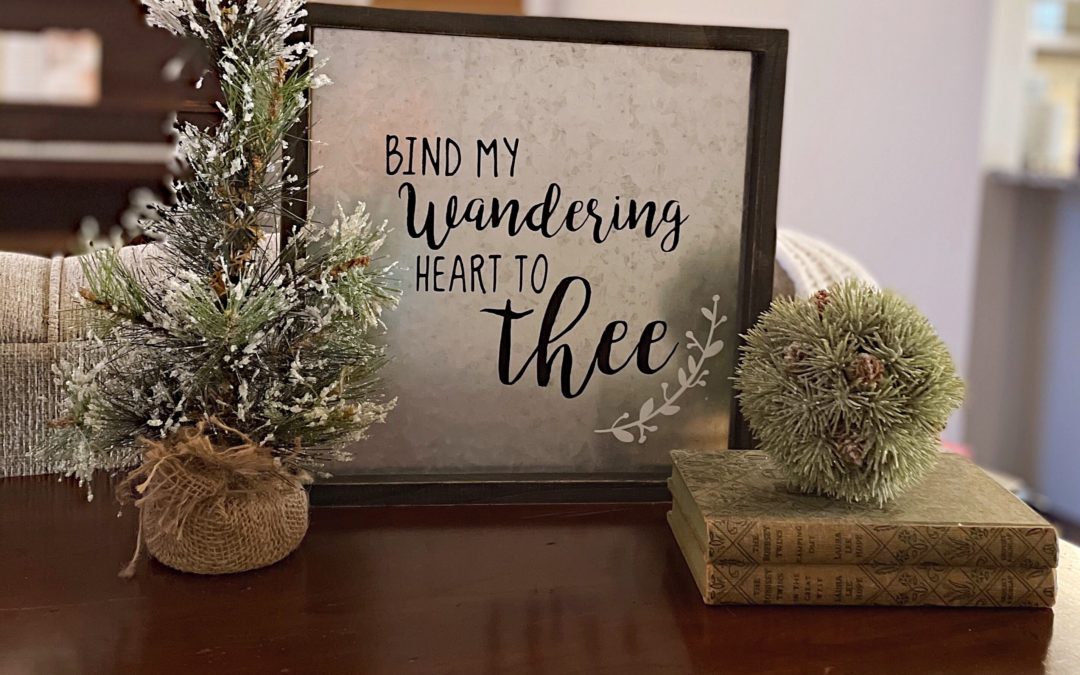
How to Decorate Your Home for Winter
Christmas comes and goes so quickly but here in Pennsylvania winter does not go as quickly. I always feel a bit bereft after taking down the Christmas tree and all of my Christmas decorations at once, so I decided a while ago that I wouldn’t take it down all at once! Here it is cold and except for the sporadic snowfall, it is quite bare outside as well for months. I don’t want the inside of my house to feel bare as well! I want it to feel cozy- extra cozy! I want to decorate for winter, after all winter is a season too! Here are some ideas of how to decorate your home for winter.
Sweet Recipes for this Christmas Season
Growing up it never was officially Christmas until I went over to grandma and grandpa’s and there was peanut brittle in grandma’s crystal trifle dish, which everyone in the family called “The Peanut Brittle Dish”. When the peanut brittle appeared in the dish and grandma hung her little decoupages and dollars on the china cabinets handles, we knew that Christmas had arrived!
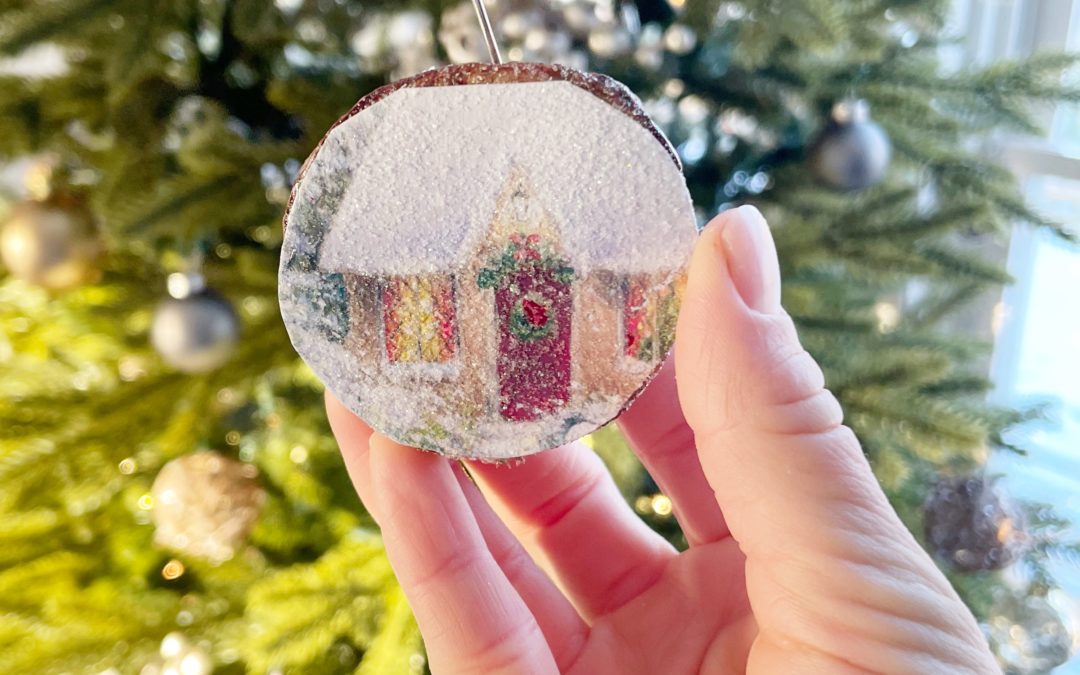
Homemade Ornament Ideas
The winter weather always inspires me to get a little more crafty! I think this is due in part to the fact that there is all kinds of cute decor out there to be made but also when I was growing up our community would host a craft show in which you could open your home to the public for a craft show for several days. We would participate with our neighbors in this holiday craft show and the weeks leading up to it would have my mother and I furiously crafting in an effort to have enough inventory for the show. The crafty bug has hit me again and I have two Christmas ornament crafts for you!

Christmas Inspiration
Are you ready for Christmas? I am so ready! I love all the days in the holiday season starting with Thanksgiving, from getting out and doing a little shopping on Black Friday to going out and getting a real Christmas tree. I love shopping for presents; I love wrapping presents; I love baking with family; I love the Christmas parties (probably the only kind of parties that this homebody gets excited about!), but I have to say above it all, one of my most favorite activities of the Christmas season is decorating my house! It almost makes the whole ordeal of growing up, finding a way to earn an income, and paying bills worth it! Today I’m sharing some of my favorite Christmas decorating ideas as well as some things you can start doing to prepare for the holidays to make them a little less stressful!
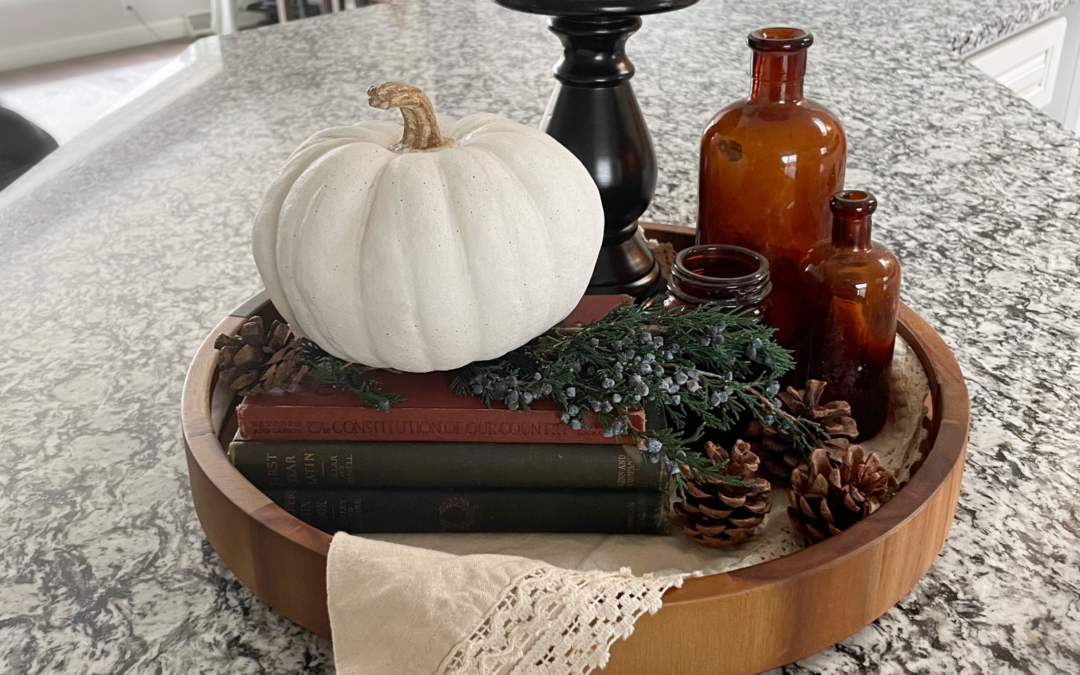
How to Transition Your Decor From Fall into Early Winter
We made it through the spooky month! I admit, I’m not the biggest fan of spooky decor. (There are worse faults a person could have!) But, now what? Done with the Halloween stuff but not quite ready to tear into all the Christmas decor? Here are a few ways to keep your home nice and cozy, just by adding a few touches of winter to your decor—and you don’t have to pack up your pumpkins.
Soup Recipes to Warm You Up This Winter
I have always been a soup-and-salad-type of girl. I love soup, as in I could (and do) eat it all year round! I realize that while not everyone may enjoy soup all year long, most of us can enjoy a good bowl of soup in these colder months. Here are several of my...
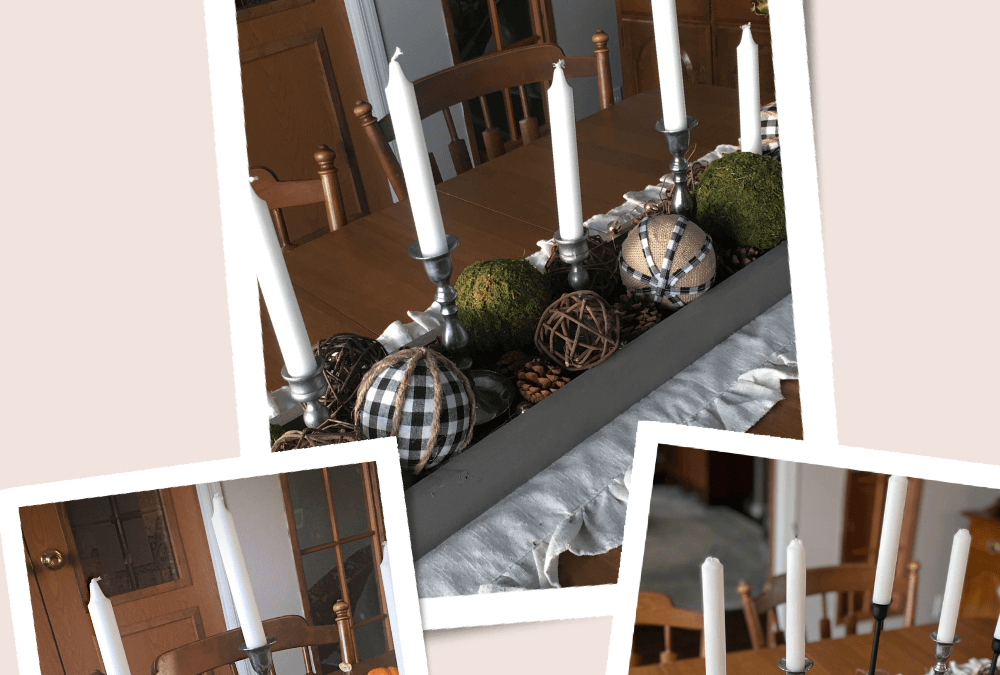
Centerpieces Throughout The Seasons
Take a look at Centerpieces throughout the seasons. Keep in mind, only a little time spent is needed to keep your decor on track with the changes!