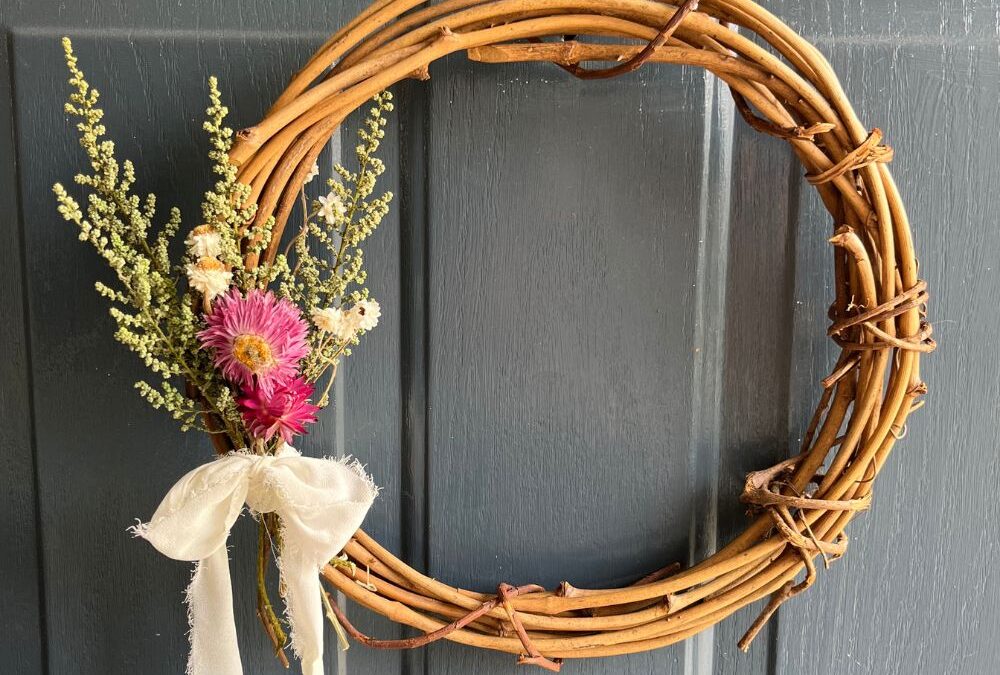
You might be ready for spring but is it your home? Don’t forget your front door! Your front door is the first thing people see so setting the tone is important! If you don’t yet have a spring wreath check out this post for how to make your own Easter wreath or spring wreath- these are super easy! One doesn’t even require any glue!
Gather your supplies
What You Will Need:
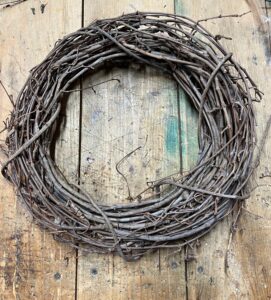
A Grapevine Wreath (mine is 12 inches)
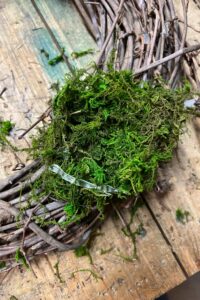
Faux Moss
Brown Moss
3 Small Faux Eggs
Dried Flowers (if desired)
Hot Glue Gun
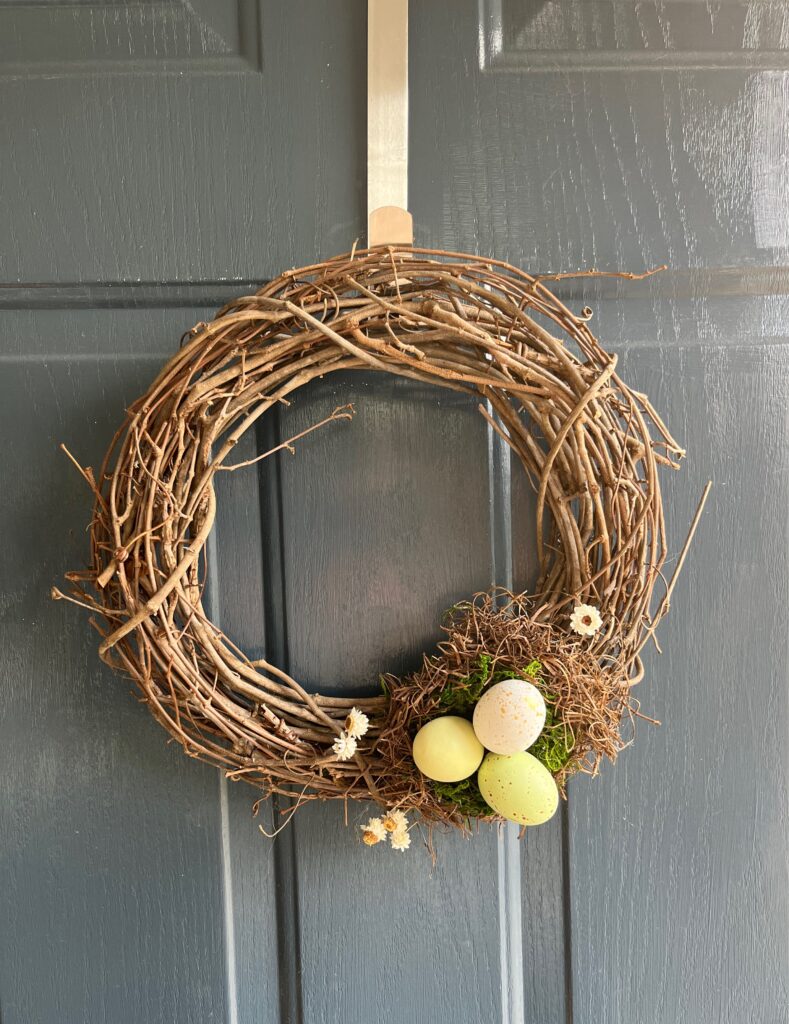
1. Decide where on your wreath you want your nest to be located; I like mine around 4-5 or 7-8 looking at the wreath as if it were a clock.
2. Start by gluing a small amount of moss onto the wreath. Be liberal with the glue- this is your foundation for your wreath and you want it to be secure! Also, use enough moss to be sufficient to be the bottom of your nest- this is where your eggs will go!
3. After you have your base as big as you want, start to build up the sides of your nest by placing a small amount of glue on the edge of the moss to build up the sides. Work your way around the edges in small chunks, (so your glue doesn’t harden before you get to it!) taking 4-5 sections to make your whole way around the nest.
4. Once you are happy with the edges and your nest you will take the brown moss and repeat the same process that you did in step 3 around your green nest base.
5. You get to glue on your eggs! Don’t forget to lay the eggs out before you start gluing to make sure that they fit the way you want them to.
6. If desired, place a small amount of glue on the end of the flower stem before sliding it into the wreath.
You’re all Done!
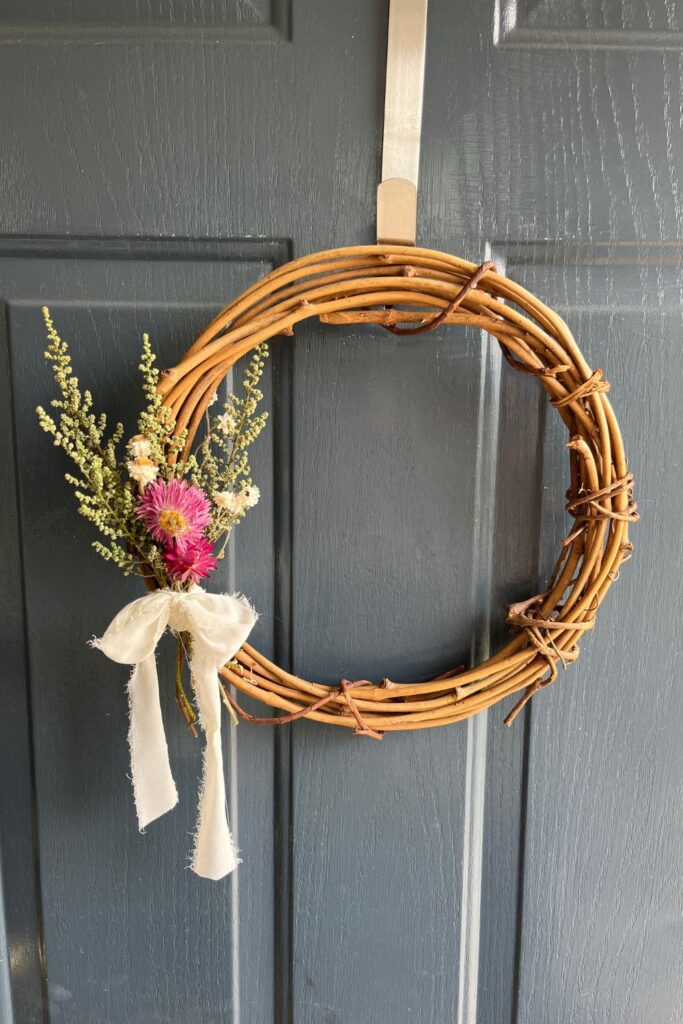
No Glue Spring Wreath
What you will need:
A 12’ Grapevine Wreath
At least 3 different faux flowers (or artificial)
Flower arranging wire (any wire that isn’t too heavy a gauge will due)
Ribbon
pliers
1. Cut your flowers to the length you want: I like to have my greenery or filler be the tallest, feature my main flower front and center, and tuck the little flowers around the edges.
2. Arrange the flowers how you want them to appear on your wreath.
3. Cut approximately 1 inch of wire. Lay the flowers on the wire and twist the wire closed. Use your pliers to tighten the wire so that it securely holds the flowers.
4. Place the bouquet where you want it on your wreath.
5. Cut a piece of ribbon (about 16 inches depending on how long you want your ends to be) and slide it under the wreath.
6. Wrap the right side of the ribbon clockwise around the wreath, then wrap the left side around the wreath, this covers the bouquet and wire nicely so that they don’t show.
7. Securely double-knot the ribbon, you want it to be tight so your bouquet doesn’t move! And tie a pretty bow!
8. Display your pretty wreath!
And that’s all there is to it! I hope if you are needing a wreath to welcome people into your home that this helps inspire your creativity and that you can have fun creating your own wreath- happy spring!
Hey! May I Send You Something?
If you are here, chances are you just might like my writing. (wink) If you Drop your email address in the box below I’ll save you time by emailing you the link every time a new post comes out!
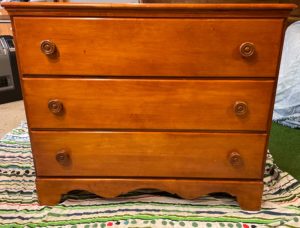
We are in the process of setting up a nursery for our first child! It has been so much fun to think of all the possibilities to decorate a room for a new little one and, of course, there is some specialized furniture we will be needing: namely a changing table.
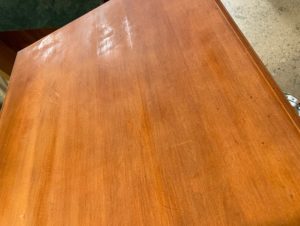
We had an old dresser that had been given to us that we didn’t have an immediate need for so it had been living in the basement. It is shorter in height and longer in width, making it the perfect size for a changing table. There was just one problem—it looked a little dated. My husband does not, in any capacity, understand my desire to paint real wood furniture and I don’t understand his desire to stop me! If we don’t like it we can always use a stripper to remove the paint. It took me months to convince him that it really would be ok to paint the dresser and finally I was able to get busy!
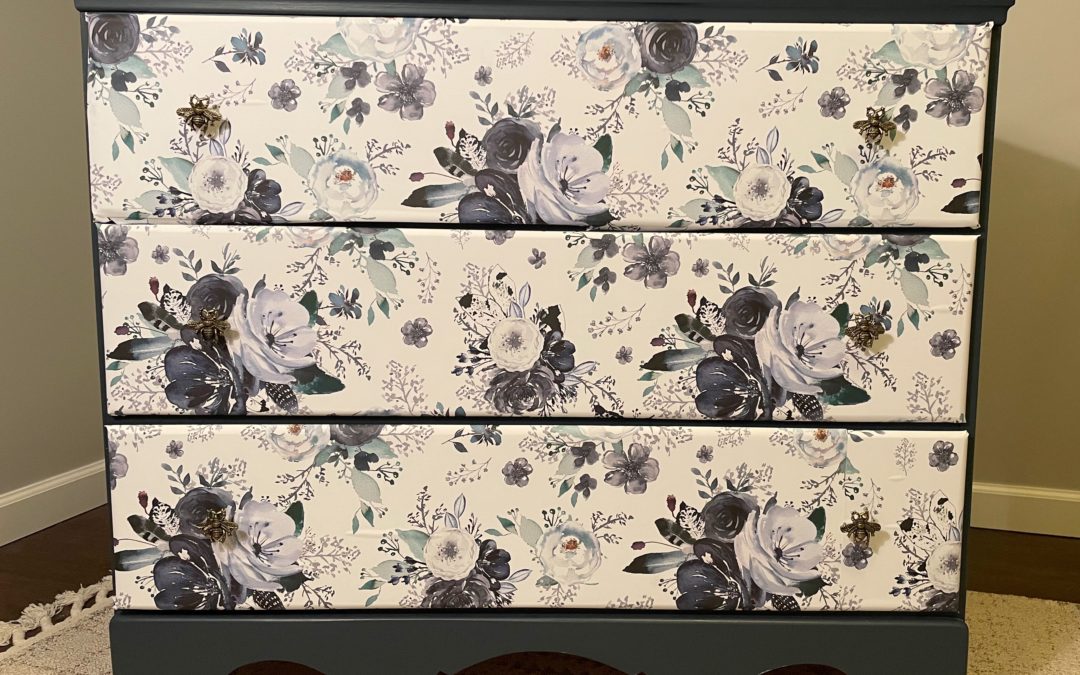
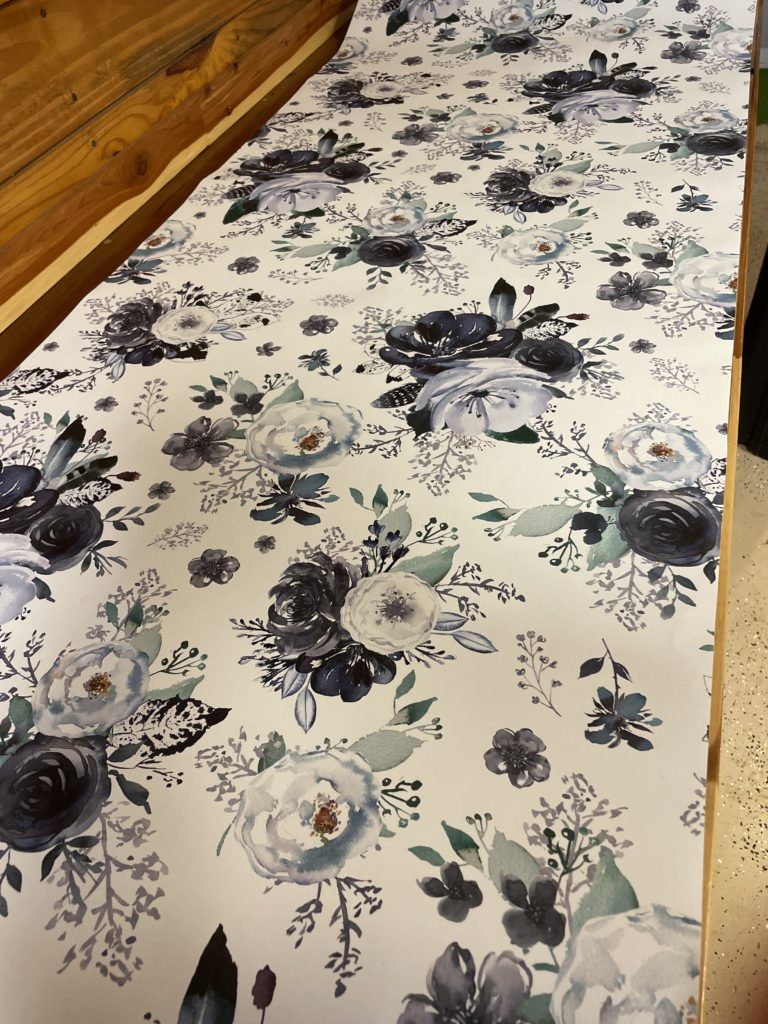
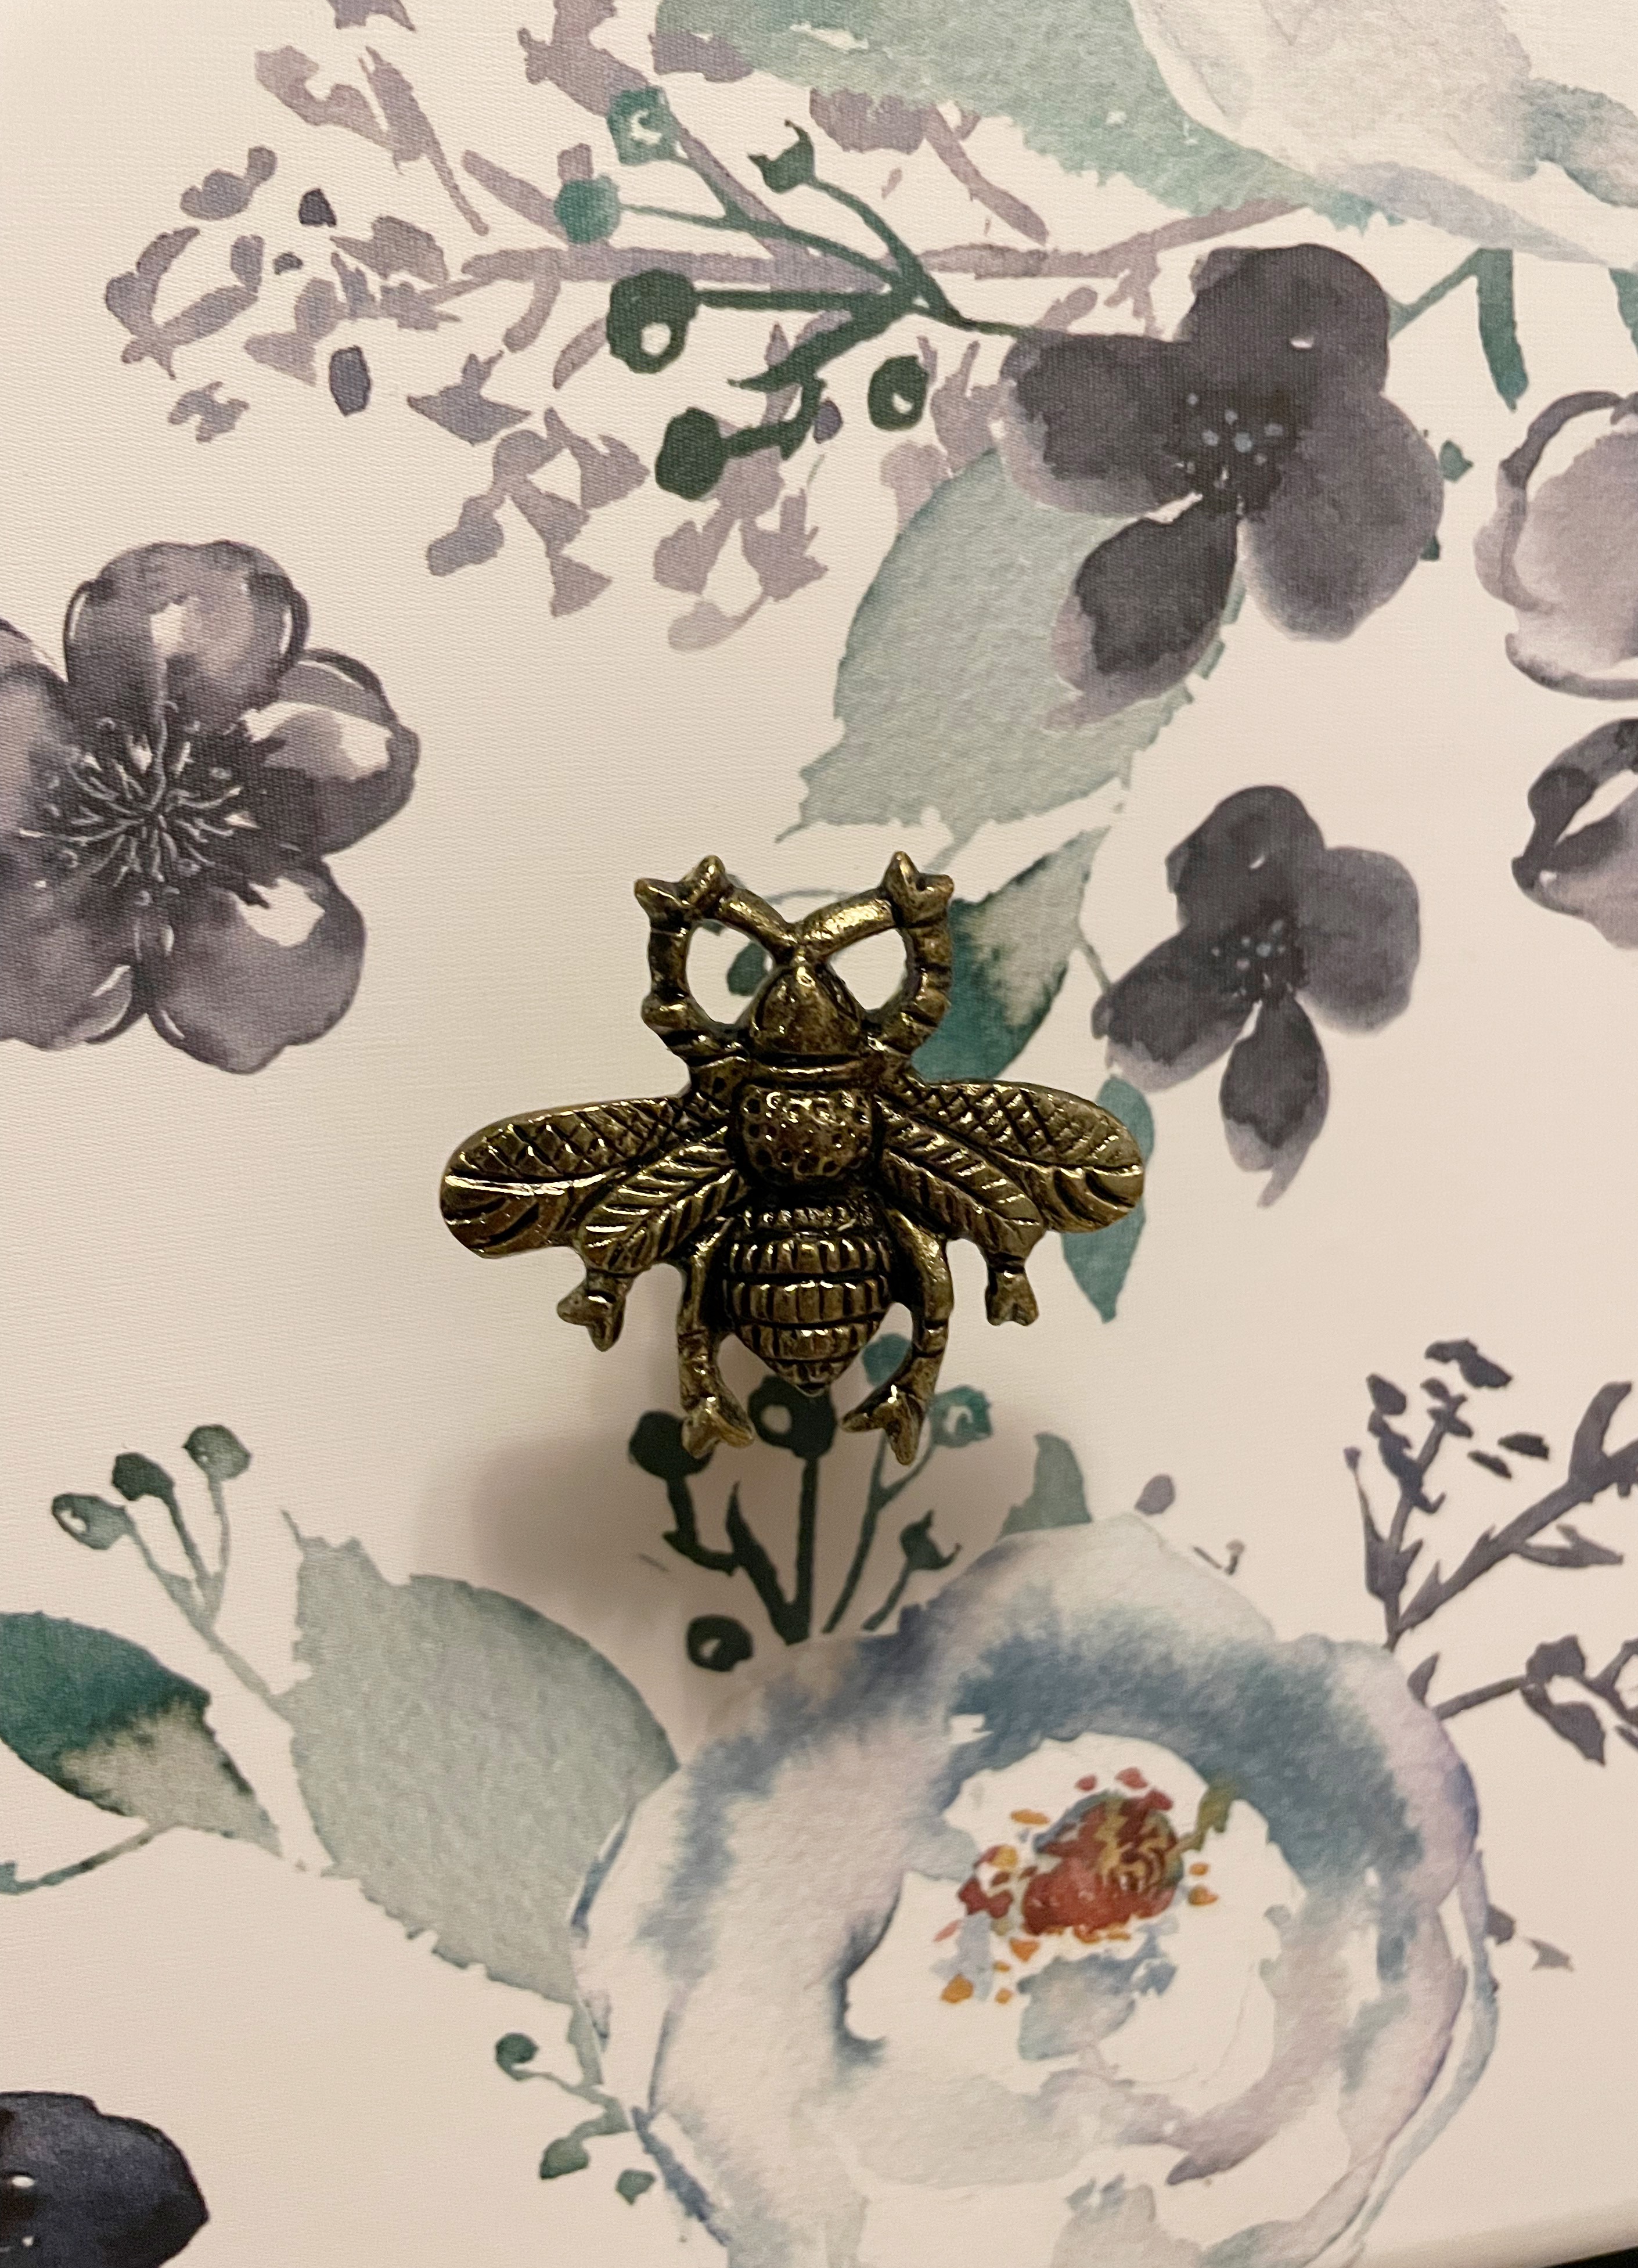
We do not know what gender we are having so I wanted to paint it something that would work for either gender—that I could either make more boyish or dress up to be more girly. I decided on a deep teal/navy for the dresser. Either way, I wanted to jazz things up a bit. I wanted to paint the outside of the dresser the teal and then do a wallpaper on the drawer fronts. I got on Etsy and found some wallpaper that I fell absolutely in love with (it is floral so my mom thinks it’s a little girly if we have a boy but I don’t think the baby will know that florals are traditionally more feminine) and found some snazzy bee knobs to keep things from being too sweet. (And too girly!)
Below are the steps I followed to update the dresser as well as some links to the paints and wallpapers that I like. Check them out and let me know if you have projects that you are working on. Find me on Instagram @Essentiallyemmamarie.com.
Steps for redoing a dresser
A few notes before we get started:
Disclosure
Please remember that this post contains affiliate links; that means if you click on the link, I will make a small commission at no extra cost to you. It’s a way to support my blog! I will only ever share an affiliate link if I love the product and think that you just might love it too!
1. Select the paint and wallpaper you want.
2. Remove all the drawers and hardware.
3. Lightly sand the dresser first. You don’t necessarily need to sand the drawers but doing a quick sand will help the wallpaper stick better.
4. Using a damp rag, thoroughly wipe all the dust from the dresser. Let dry.
5. Wipe again with a clean, dry cloth. I like using a microfiber towel for this.
6. Some paints require that you sand your surface first. Others will only require that you wipe and dry the surface. For the paint I was using I needed to do a light sanding first. (In my experience the paint typically takes better with a light sanding regardless.) You just need to sand enough to rough up the appearance of the finish—you don’t have to aim to remove all the finish. You can do this by hand or with an electric sander. You want a fine enough grit sandpaper that it will rough up the finish but not so much that you will have scratch marks to fill. Aim for 320-400 grit. I used an electric sander to speed things up. Don’t forget to wear a mask and protective glasses if you are sanding.
7. Wipe with a slightly damp microfiber cloth.
8. Wait a few minutes and wipe with a clean, dry, microfiber cloth to get all the dust off.
9. Now for the paint! Apply two light coats. If you need a third coat you can but it is always better to apply more thinner coats rather than fewer thicker coats.
10. After the paint dries (the back of the paint can you are using will have directions for how long to wait in between coats and how long the paint takes to “set”), you can apply your sealer. I used a polyurethane sealer because I expect this dresser to take some hard wear and tear.
11. In the meantime you can apply your wallpaper to the front of the drawers. Wipe down the drawers and make sure they are clean and dry. Measure each drawer and mark your wallpaper (on the backside of the wallpaper) before cutting. If you are really nervous, you can unroll the wallpaper and set the drawer on the wallpaper to use as a pattern. Make sure to leave an extra half inch around all of the edges of the dresser.
12. It is easiest to do this step with someone: Set the drawer so it is standing upright with what will be the front of the dresser in the air. Have one person hold one end of the wallpaper as you peel away the backing from the other side. Lay the wallpaper on the drawer and smooth the wallpaper with your hand, or a straight edge, like a ruler, as you go to make sure there are no air bubbles.
13. Press the edges of the wallpaper around the drawer and square off the corners. You may need to apply decoupage or a type of glue to keep the edges in place depending upon the stickiness level of your wallpaper.
14. Taking a tool with a sharp point on it, such as an awl, small screwdriver, or long nail, puncture the wallpaper from the backside through the hole where the knobs were. Just make a small hole. Be careful!
15. From the front, insert your tool and wiggle it in a circular motion until the hole is big enough to fit your new knob through.
16. Insert your new knob and tighten with a pair of pliers.
17. You’re all done!
I hope this helps spark some ideas of ways you can redo and repurpose some items that you may already have around your home! If you do (or even if you don’t) I’d love to hear from you! Come connect with me over on Instagram! I can be found at @EssentiallyEmmaMarie.
Hey! May I Send You Something?
If you are here, chances are you just might like my writing. (wink) If you Drop your email address in the box below I’ll save you time by emailing you the link every time a new post comes out!
The winter weather always inspires me to get a little more crafty. I think this is due in part to the fact that there are all kinds of cute decor out there that can be made and in part because when I was growing up our community would host a community craft show for several days where you could open your home to the public in the hope they would purchase the crafts that you made. We would participate with our neighbors in this holiday craft show; the weeks leading up to it would have my mother and I furiously crafting in an effort to have enough inventory for the show. The crafty bug has hit me again and I have two Christmas ornament crafts for you!
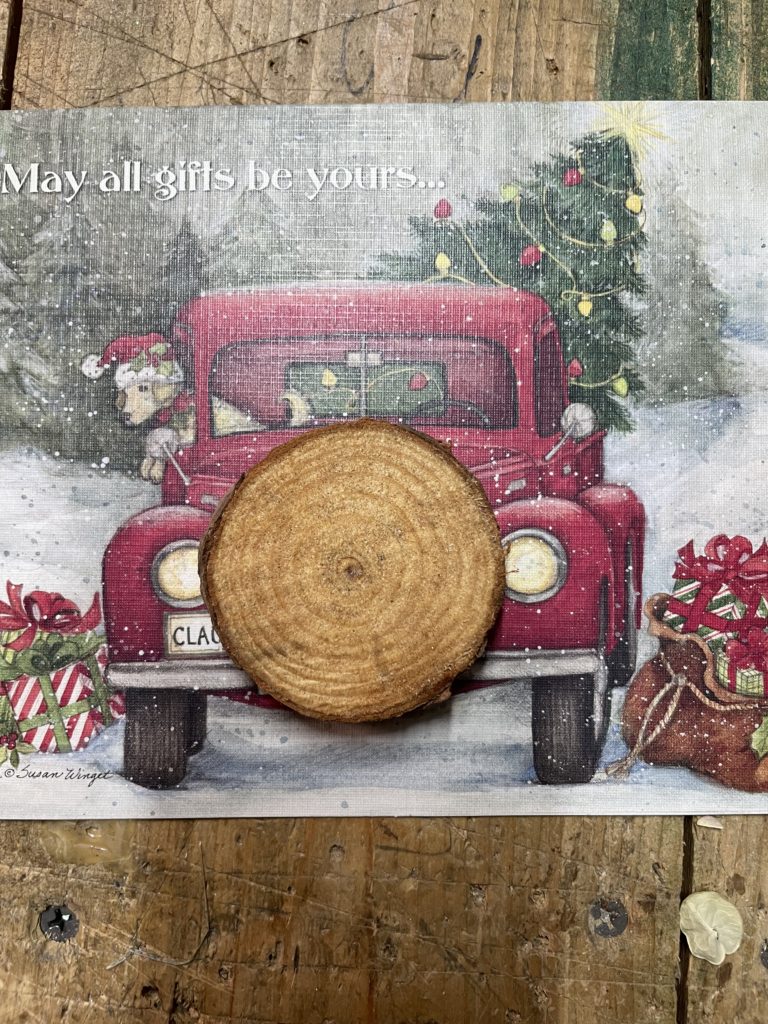
Do you have left over Christmas cards that are too pretty to throw out but you have no idea what to do with them? I have a craft for that!
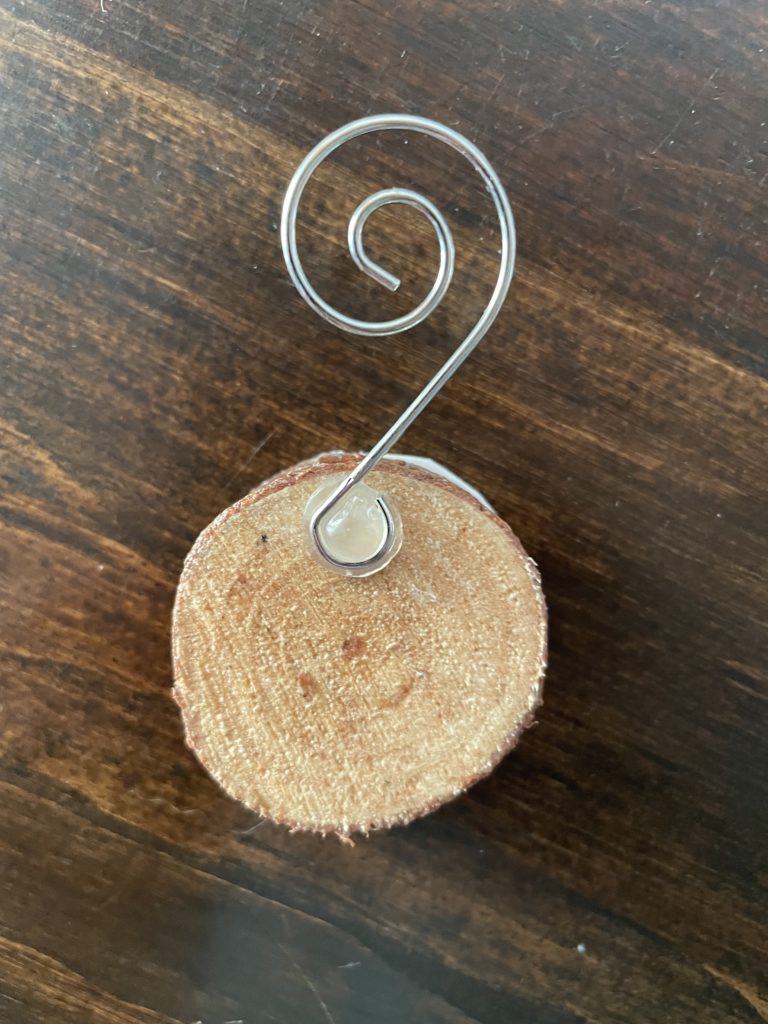
Christmas Card Ornaments
· Choose a variety of Christmas cards with small pictures on them.
· Select a pre-cut wood slice and lay it on top of the Christmas card.
· Using the wood chip as a pattern, outline the wood chip on the card then cut it out.
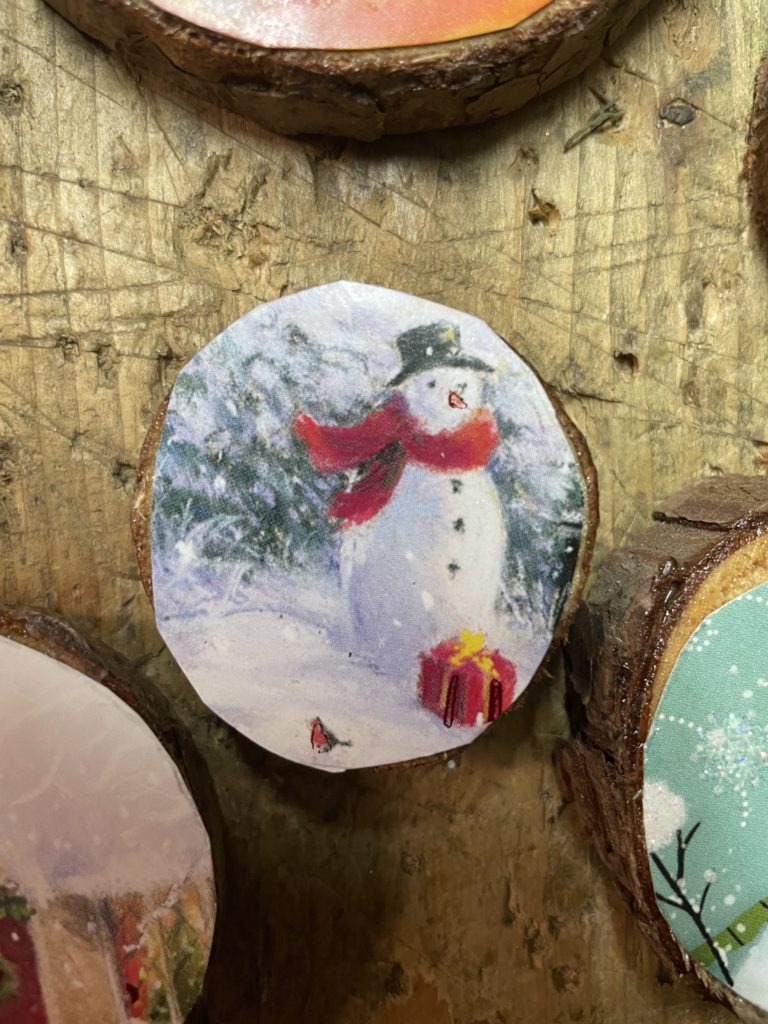
· Use decoupage to coat the wood chip and lay the cut-out card on top. Turn the chip upside down or use wax paper as a buffer and lay a book on top to help encourage the card to adhere smoothly to the wood chip.
· Let dry.
· Coat the front and the back of wood chip with decoupage. Let it dry, then coat a second time.
· If desired, spray with spray glue and dust with glitter.
· Spray with sealer.
· Hot glue an ornament hook to the back of the wood chip.
· You’re done!
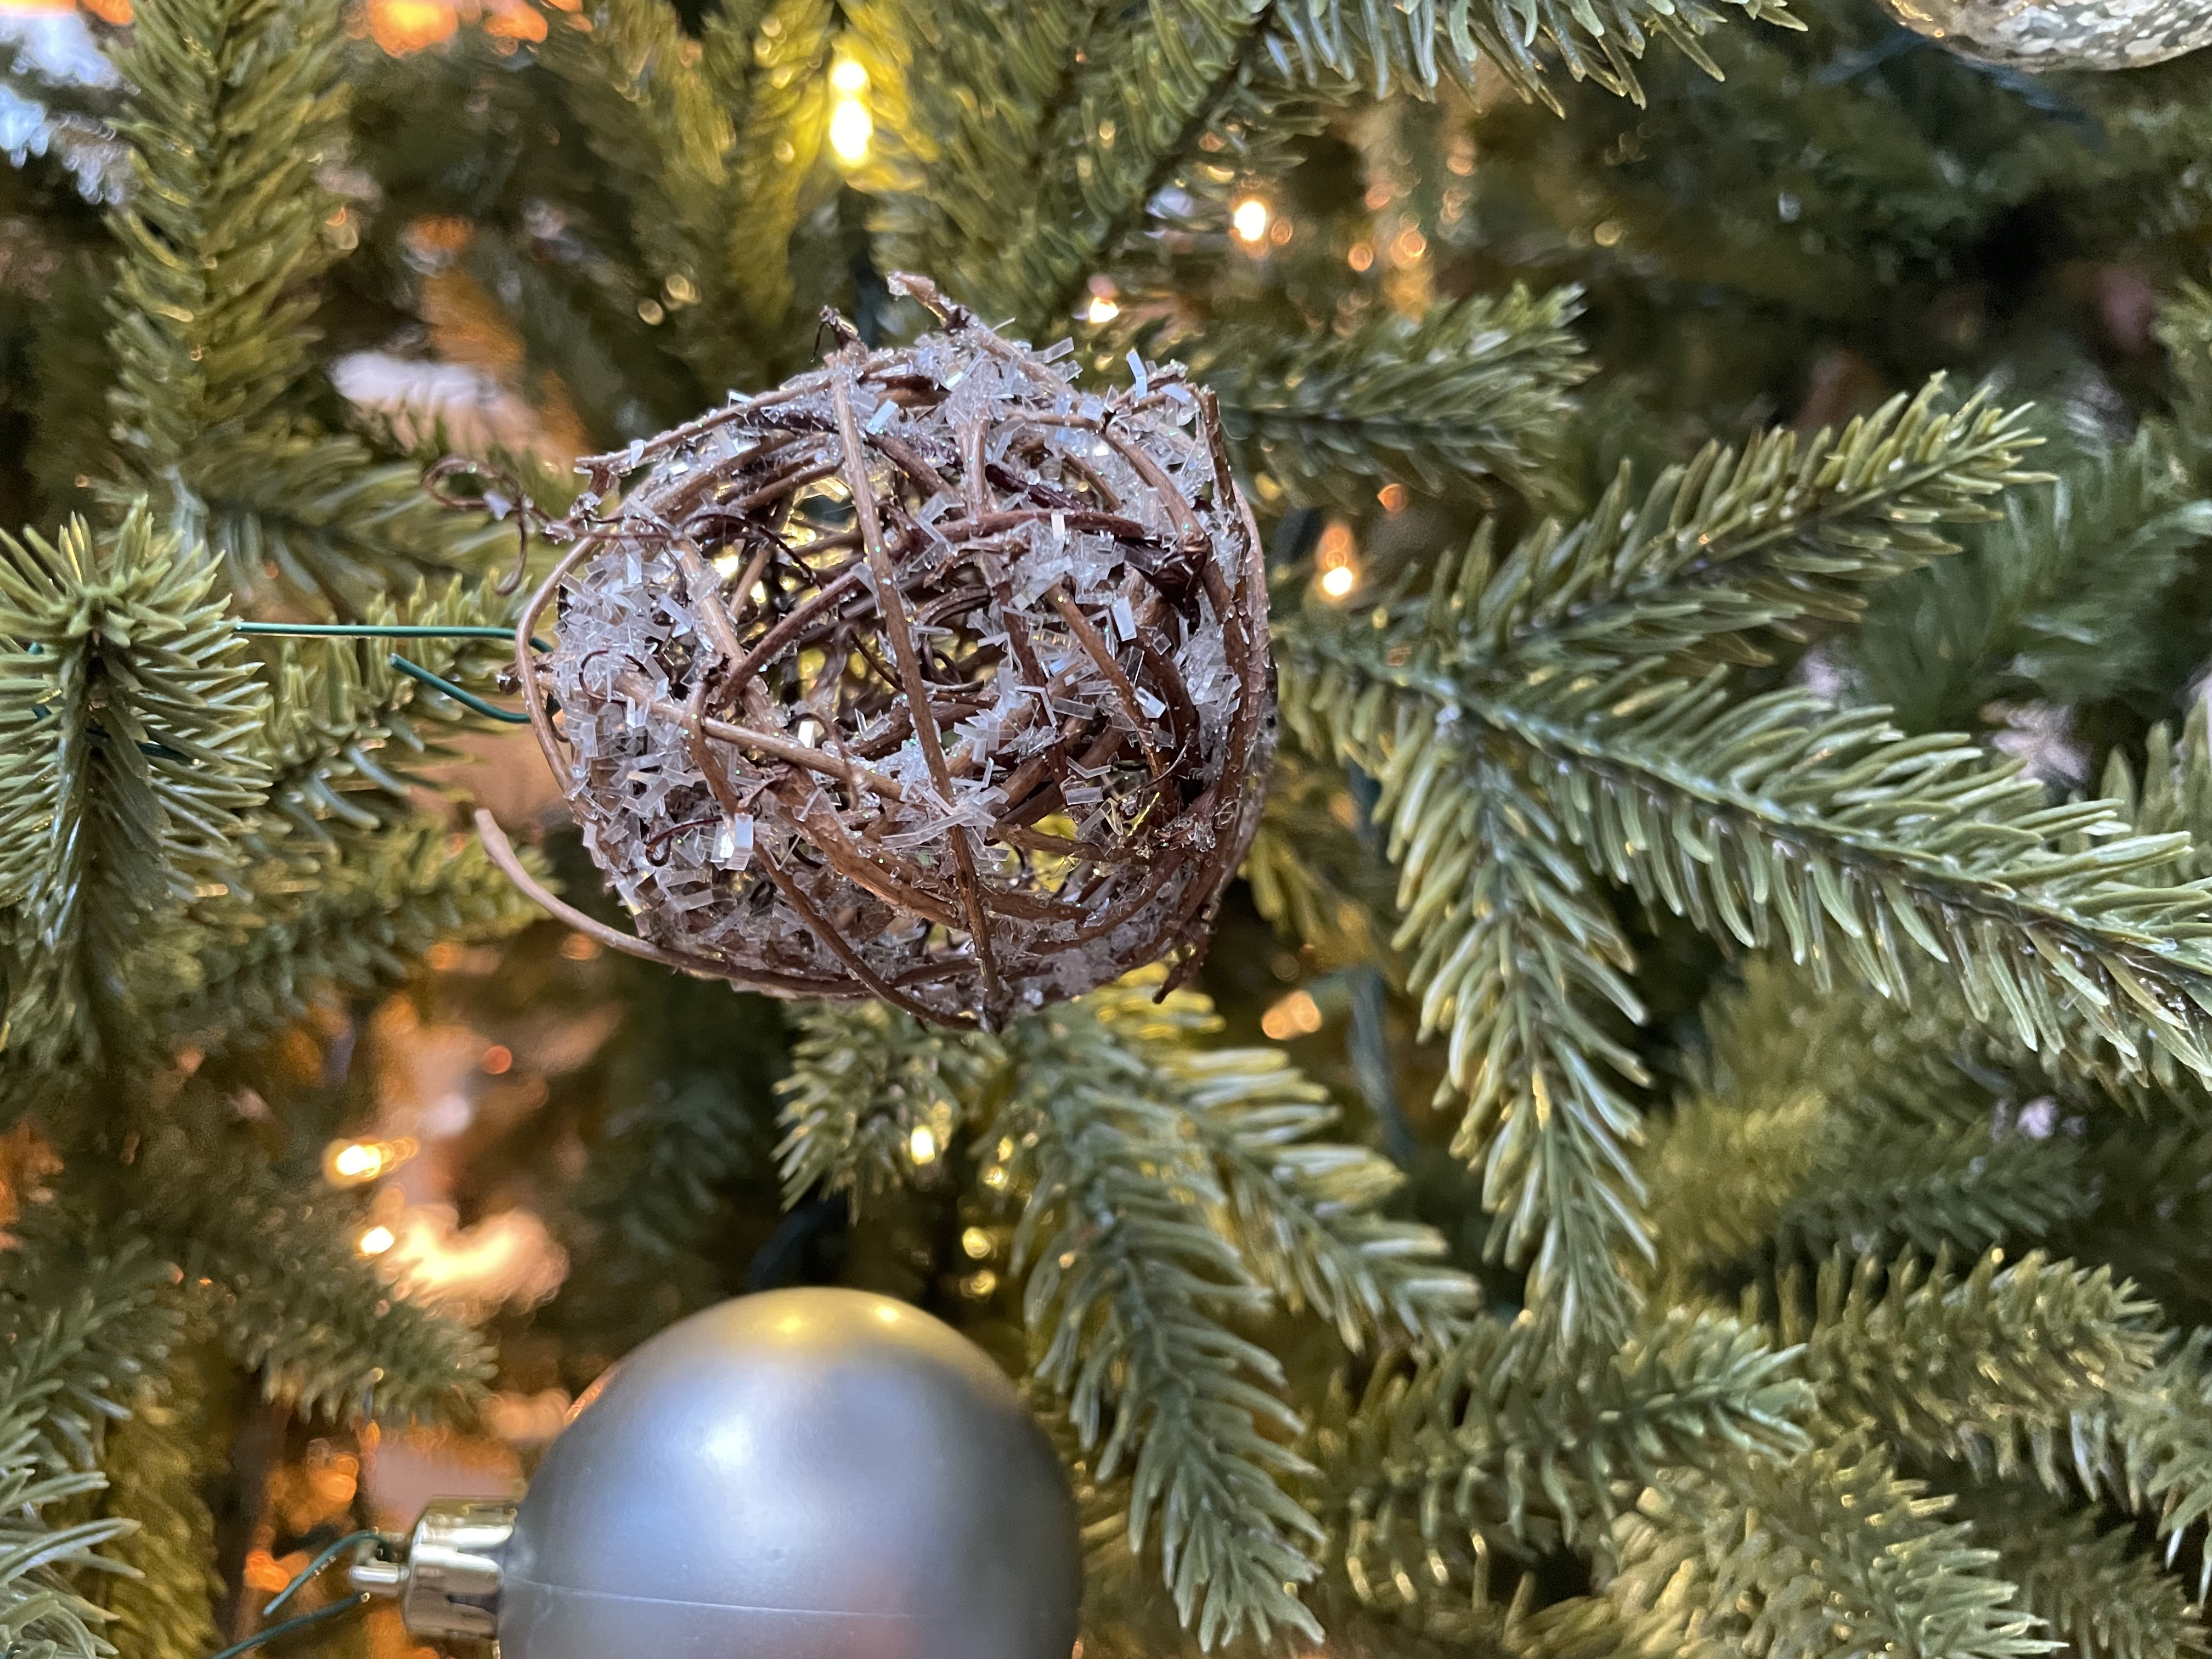
Snow-Covered Twine Balls
I love twine balls and I think they look just gorgeous on a Christmas tree. For these ornaments:
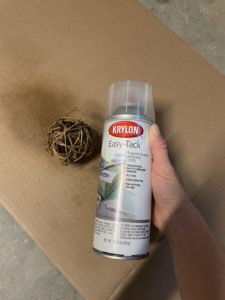
· Start with a bare twine ball. (You can also do this with pinecones.)
· Spray with spray glue.
· Immediately role in glitter.
· Let dry.
· Repeat steps 2 and 3 until you have your ball covered thoroughly (or as much as you want).
· After the ball has dried, take a hot glue gun and adorn randomly with little pearls and crystals. Let the hot glue cool.
· Attach a hook: you could use fishing line, a regular metal ornament hook, or a fancier one like I did.
· In a well-ventilated area spray the ball with a clear coat of sealer to help minimize glitter loss.
· You’re done!
I hope these ideas will help inspire you if you are looking for some Christmas crafts to do on your own or with your family. Happy crafting!
Disclosure
Please remember that this post contains affiliate links; that means if you click on the link, I will make a small commission at no extra cost to you. It’s a way to support my blog! I will only ever share an affiliate link if I love the product and think that you just might love it too!
Hey! May I Send You Something?
If you are here, chances are you just might like my writing. (wink) If you Drop your email address in the box below I’ll save you time by emailing you the link every time a new post comes out!